Whatever you are watering your garden, cleaning your car or washing outdoor furniture, a garden pipe is a must in any backyard. Leaking garden pipe is a regular irritation to many homeowners, yet it is possible to understand the reasons and learn how to fix them with the help of some expediency, therefore, preventing the waste of water and additional destruction. Here is how you can find out the causes of a leaky garden pipe, and the most practical temporary solutions that you can apply on your own.
Common Reasons Your Garden Pipe Is Leaking
The fact that a leaky garden pipe is not necessarily evidence of damage: it may be nothing but wear and tear and some pressure problems. These are some of the possible common reasons:
-
Wear and Tear With Time: With age, the effects of sunlight, temperature fluctuations and wear can occur, leaving cracks or splits within the pipe.
-
Loose Connection: Connection joints of the tap, nozzle or sprinkler may also become loose or worn out over time, resulting in leakages in the form of dripping or spraying of water.
-
Accidental punctures: Sharp tools, rough surfaces, pet play can prick the pipe particularly when the pipe is a flexible garden pipe with its thinner walls.
-
Broken/bad washers: Rubber washers in connectors may become hard, or crack and fall out all together, leading to leaks at the points where the hose fits in the tap or nozzle.
-
Kinks and Bends: Continuous bending or inaccurate coiling may lead to weakening of the wall of a pipe. Frequent kinking produces stress areas which ultimately rupture and seep.
-
UV and weather exposure: Leaving your green hose pipe out without storing it properly under strong sun or cold weather makes the material wear faster.
-
Water pressure issue : Over pressure can cause small holes, particularly where pipes are of lower quality.
-
Low-grade materials: Pipes offered at a very low garden pipe price are often made from cheaper materials that lack flexibility and durability, making them more prone to damage over time.
Common Leak Points in Garden Hose Pipes
Knowing where your garden hose pipe leaks helps in choosing the right fix. Here are typical leak zones:
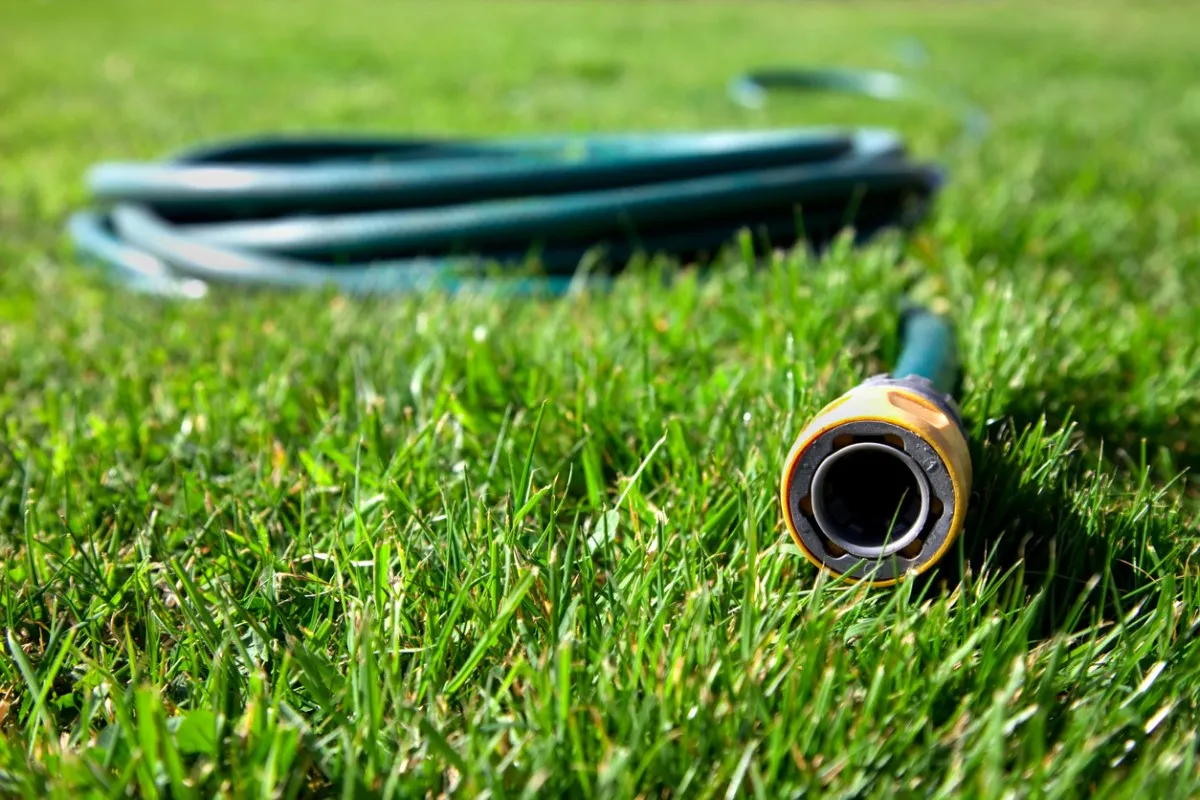
At the nozzle or tap: Worn-out washers or cross-threading are often to blame.
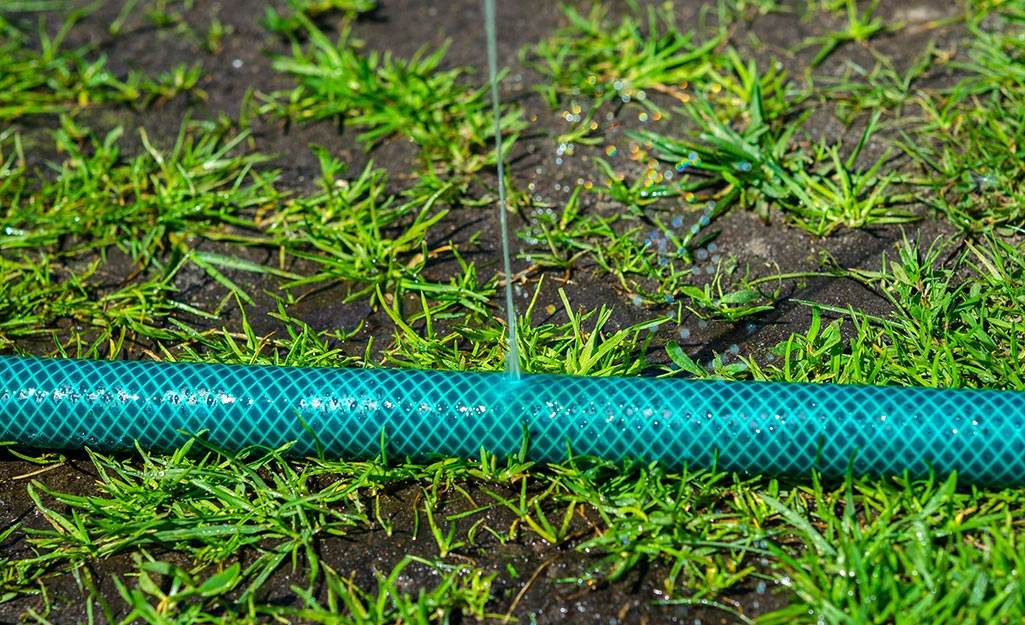
Along the body: Small pinholes caused by wear or contact with sharp objects.
Near connectors: Frequent bending weakens these joints.
Due to twists/kinks: Constant coiling and uncoiling can lead to stress fractures.
How to Spot a Leak in Your Garden Hose
Before fixing it, you need to find it. Here's how:
Visual inspection: Lay the pipe flat and look for cracks, tears, or bulges.
Touch test: Feel for dampness or dripping when the water is turned off.
Water pressure test: Turn on the tap and watch for sprays or bubbling.
Quick DIY Fixes for a Leaky Garden Pipe
1. Shut Off the Water Supply
Whenever you want to carry out any repair, it is always important to turn off the water at its source in order to stop any further leakage and guarantee their own safety.
2. Locate the Leak
Examine the full length of the pipe, looking especially for any gaps or holes, cracks, or wet patches. Inspect the connectors and joints whether there is dripping or not.
3. Temporary Fixes You Can Try
Duct Tape: To apply to smaller holes or cracks, tightly cover the area of leakage with a duck tape or plumber tape which is water-resistant. This is done to provide an immediate temporary seal till a more permanent solution is available.
Pipe Clamps and Rubber Patch: If the crack is larger, cut a section of rubber (an old garden hose is good) and cover the leak, and then hold the rubber in place with a clamp used on pipes. Clamp up sufficiently so as to stem the drip.
Epoxy Putty: Use epoxy putty to fill cracks or pinholes in the damaged area, knead the epoxy putty and push it into the hole. Leave it to set and then turn the water back on.
Replacement of Washers: In case of leakage in a connector, loosen the pipe fitting and replace the worn washer by a new one.
Repair Sleeves: Slip a repair sleeve or coupling over a bad area and tighten it up to seal the leak.
4. Clean Up and Monitor
Once you have used your preferred repair, reconnect the water service and inspect them again to see whether there are any more leaks. Clean-up any water that is in excess in order to avoid the growth of mould or mildew.
How to Avoid Leaks in the Future
Prevention can save money and time:
Store it properly: Coil and store in a shaded spot or hose reel
Drain after use: Prevents water freezing or stagnation
Avoid rough surfaces: Dragging causes abrasion
Check pressure limits: Don’t use high-pressure water sources unless your garden hose pipe is rated for it
Buy smart: A slightly higher garden pipe price usually means better quality and longevity
Conclusion
A leaking garden pipe doesn’t have to ruin your day—or your plants. With simple tools and a little know-how, you can extend the life of your water hose pipe and keep your garden running efficiently. And if it's time for an upgrade, choose durable materials and compare garden pipe prices before buying.
At Scotto Pipes, we understand how important it is to have a reliable garden hose that can withstand daily use, changing weather, and the wear and tear of outdoor life. Our garden pipes are made from high-quality, UV-resistant materials, ensuring flexibility, durability, and leak-free performance—whether you're watering your garden or tackling outdoor chores.
People Also Ask
1. How do I fix a leaking garden pipe without replacing it?
Use waterproof tape or a rubber patch for pinholes. For larger tears, cut out the section and use a coupler.
2. What is the best sealant for a hose pipe?
Self-fusing silicone tape or rubber patch kits work best for temporary sealing.
3. How long should a garden pipe last?
With proper care, a quality water pipe for a garden can last 5–10 years.
4. Is a flexible garden pipe better than regular plastic hose?
Yes, flexible garden pipe resists kinks and handles movement better, making it ideal for frequent use.